To create a schedule with RamComm's database, simply follow the steps described below:
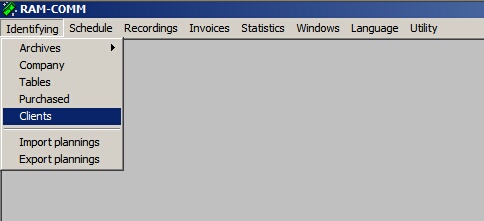
1) Go to 'Identifying' > 'Clients':
2) In the Clients Window, select a contract:
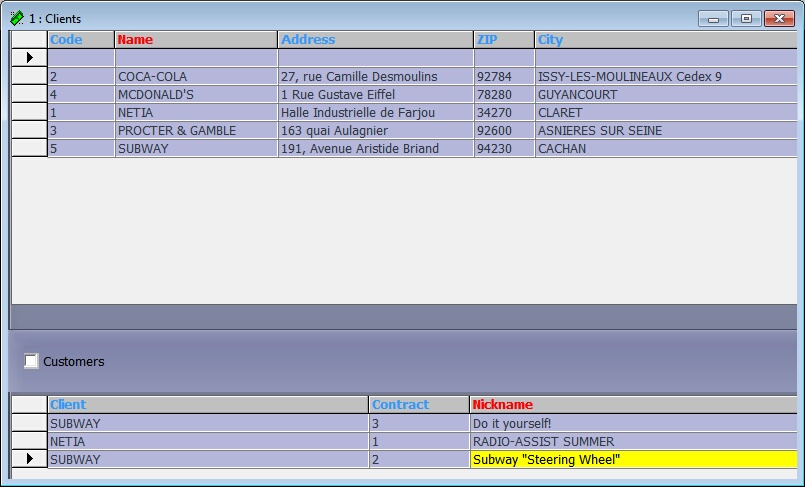
Here, the "Subway - Steering Wheel" contract is selected.
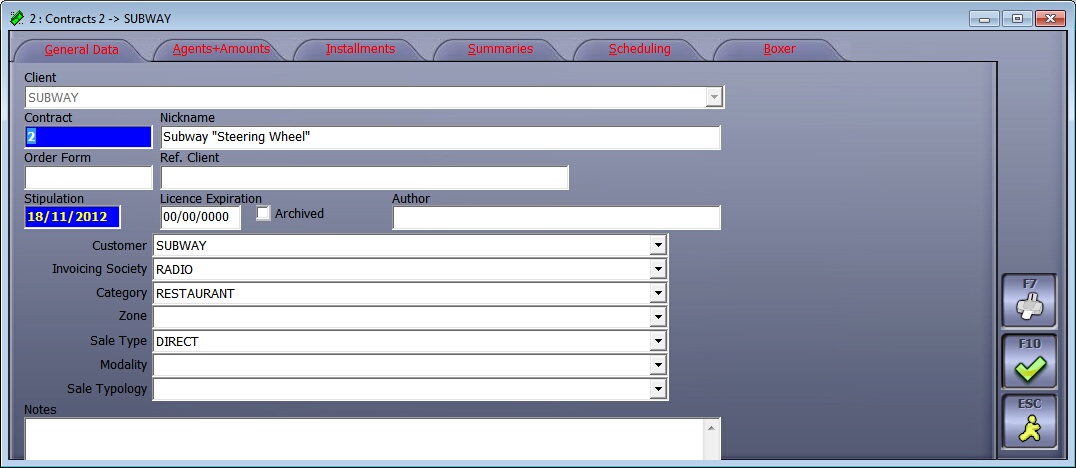
3) The 'Contracts' Window appears:
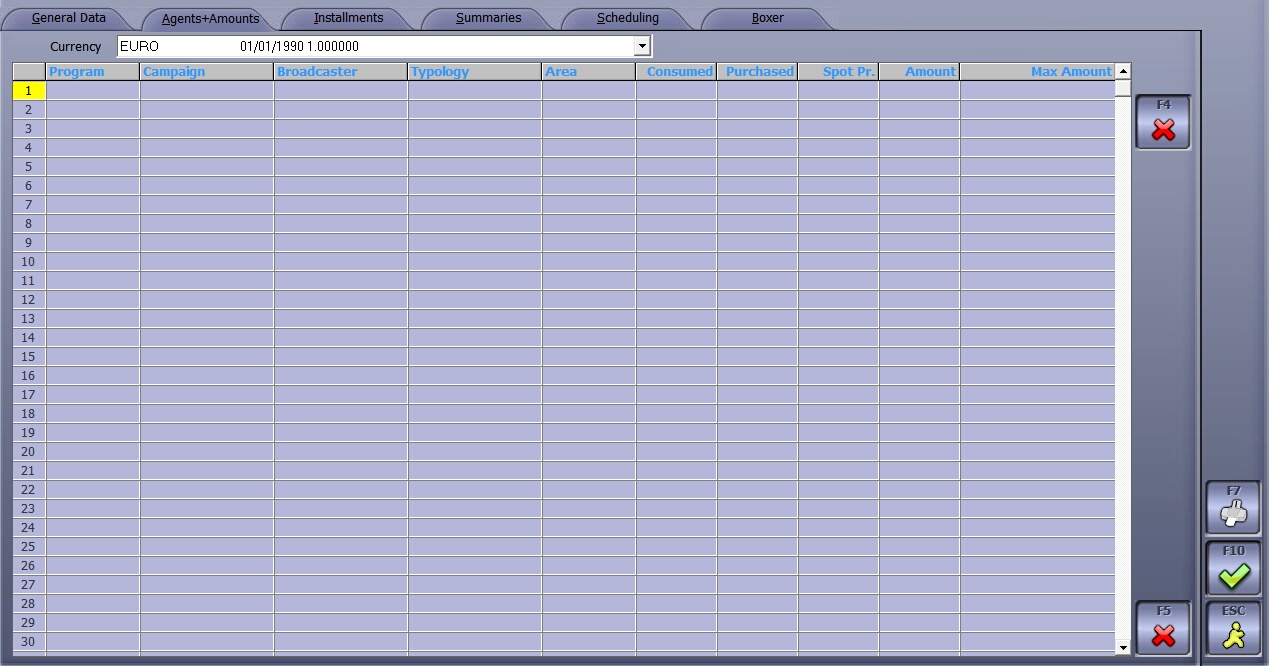
This will open a window with 6 tabs, go in the 'Agents & Amounts' tab and double-click on an empty line:
•Another window is displayed. Select your BROADCASTER, AREA (= name of your channel), TYPOLOGY (spot duration), and CAMPAIGN if your spot is part of a campaign (To create a selectable campaign, see Tables chapter)
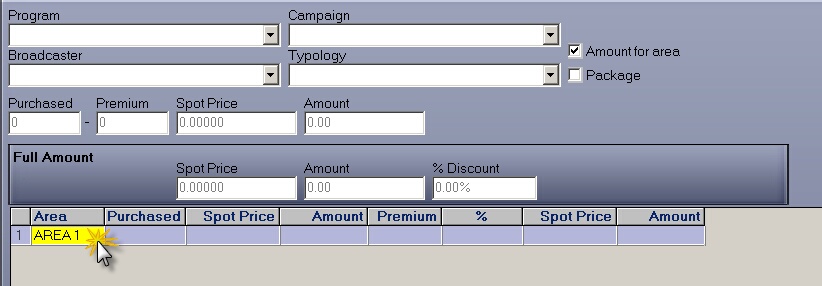
•Populate the 'Purchased', 'Spot Price' and 'Amount' fields.

There's an area to insert the number of sold spots and their unit price (or total price): the total amount is calculated automatically
so, if you have a total amount instead of single spot price, insert the total amount and the spot price will be calculated automatically.
•Confirm with F10
•Confirm again with F10

In this example, 1000 spots were purchased, with a spot price of 2 euro each
Now, move on to the 'Installments' tab:
Here you can choose how to invoice the announcer (your customer)
Usually, three ways of installments are preferred:
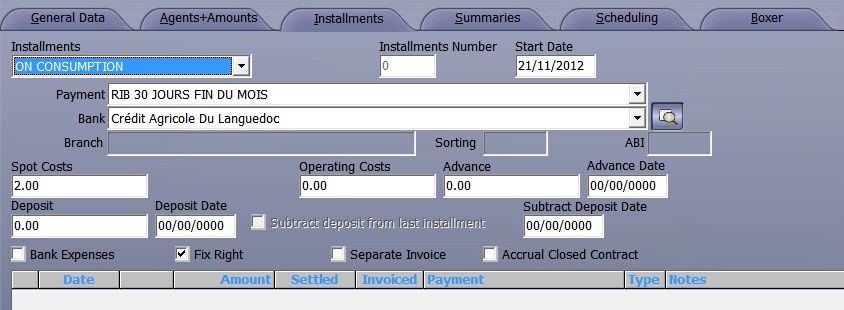
A) ON CONSUMPTION
B) MONTHLY
C) TO BE DEFINED
--------------------------------------------
A) ON CONSUMPTION (most common)
That option means that the system will automatically calculate, every month, the number of spots scheduled and their price.
You don't have to do anything for this kind of installment.
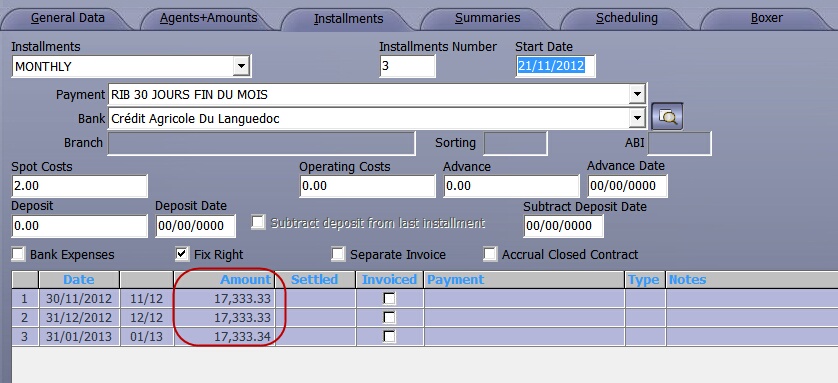
B) MONTHLY
We say that we want three installments: that is one invoice every month, for 3 months.
- 'Installment number' is 3
- 'start date' is the day you want to start to calculate the three installments
(EX: if I leave there 'Start Date' = 21/11/2012, it will create the first installment on 30/11/2012. The system takes the whole amount of this contract and divides it to spread it over three months)
C) TO BE DEFINED
This means that you create a number of empty installments to be filled manually.
For example, for 3 installments, users need to define the amount of each.
- double click on every installment to insert the 'Date' and 'Amount'
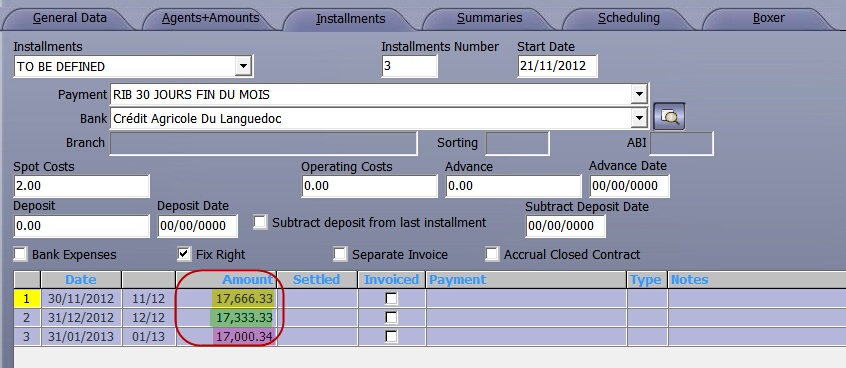
Note that here, amounts have different values
Now, you need to run the scheduling process. Otherwise, nothing will be displayed in the "Amount" column of the chart.
If you have chosen the ON CONSUMPTION mode, your installments will be calculated automatically:
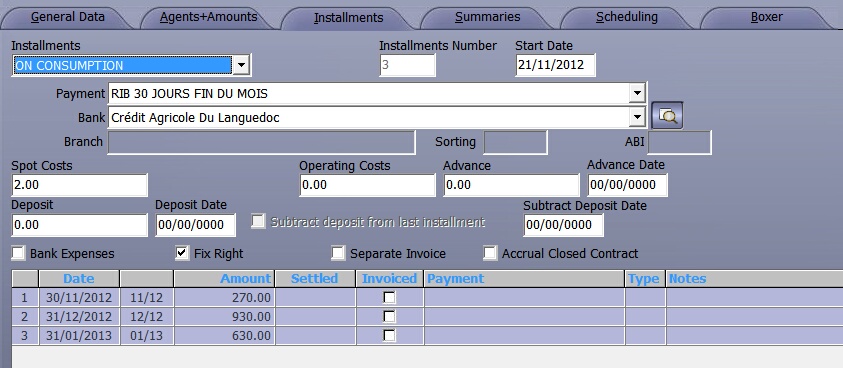
Line 1. Customer has to pay 270 € (it means that 135 spots have been scheduled for this month)
Line 2. Customer has to pay 930 € (it means that 465 spots have been scheduled for this month)
Line 3. Customer has to pay 270 € (it means that 315 spots have been scheduled for this month)
------------------------------------------------------------------------------------------------------------
That is a total of 915 spots 1470
=
Some spots have not been scheduled yet. I don't have to pay for what I have not consumed.
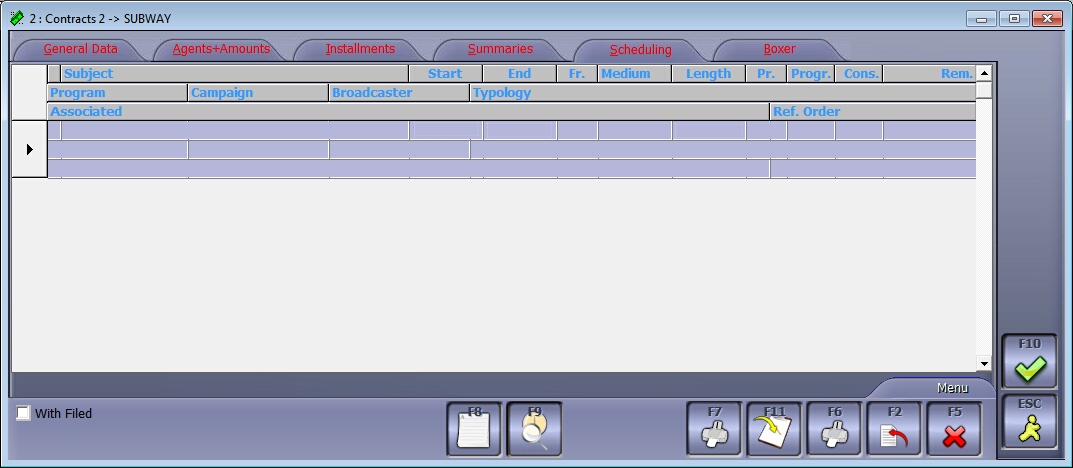
4) Go to the 'Scheduling' tab and click on F2 to create a new schedule:
5) A 'Schedule' window appears and by default, the 'General Data' tab is displayed:
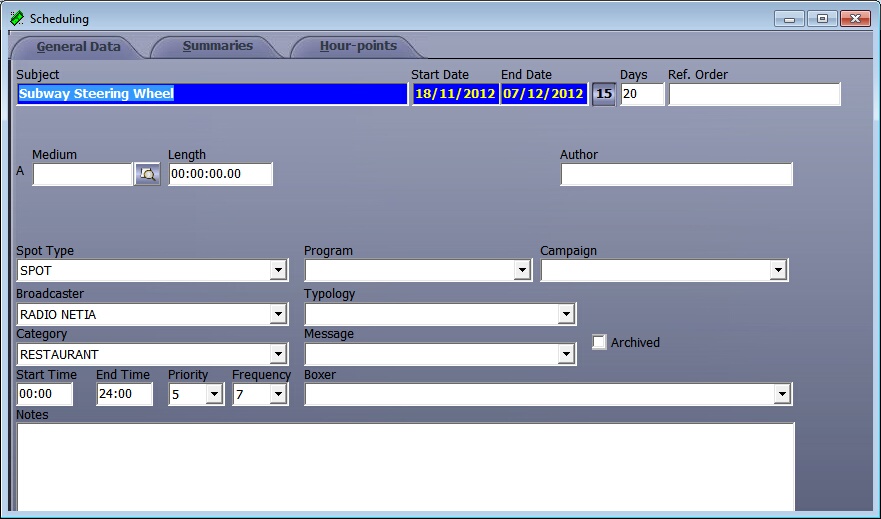
•Subject: name of your Spot.
•Start Date & End Date: alternately, you can insert the start date and enter the number of days during which the radio spot will be aired.
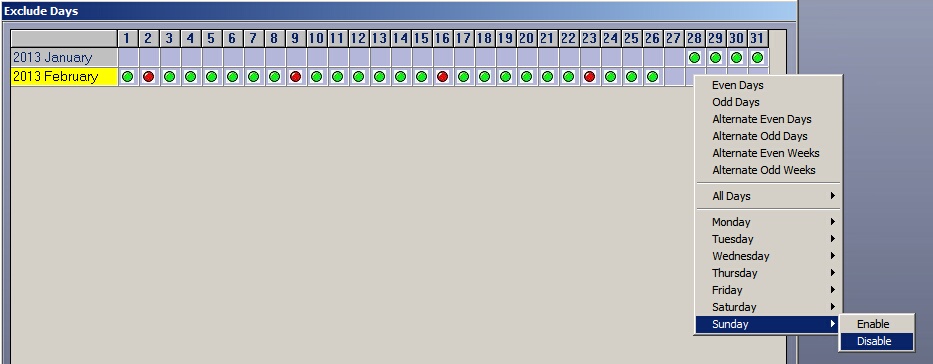
•15: by clicking here, you will have the possibility to exclude some days so that spots will never be planned on these specific days.
•Days: number of days during which spots will be broadcast.
•Medium: click on ![]() to associate your schedule to a sound item*
to associate your schedule to a sound item*
! Sounds will be in list ONLY if they've been tagged as RTB in RadioAssist.
•Media Rotation: Choose Fixed by default.
•Spot Type: Choose the spot type if you have dedicated spot types for each hour-point (Auto-promo, Patronage,...you can leave this section empty).
•Broadcaster: name of the station that will air the spot, in case you're dealing with several channels (Radio FM 1, Radio FM 2...)
•Category: product category (Apparel & Accessories, Food & Beverages, Home & Garden, Sporting Goods, Office Supplies...). Depending on the customer, if you have correctly completed the "client form", this field will be automatically populated.
•Priority: choose the priority inside the cluster (1= beginning of the cluster; 10= end of the cluster; 5= middle).
•Frequency: number of spots for each day.
! You can repeat the operation in case you have several spots associated to one main campaign. (alternatively, create a campaign in the Tables)
6) Always in the 'Schedule' Window, go to the 'Hour-Points' tab:

Area corresponds to the "area coverage" of your channel. For some radio stations, one channel is associated to several areas but in the most basic case, there is only one area per channel
Select the line corresponding to your area and double-click on it.
7) The scheduling section is opened:
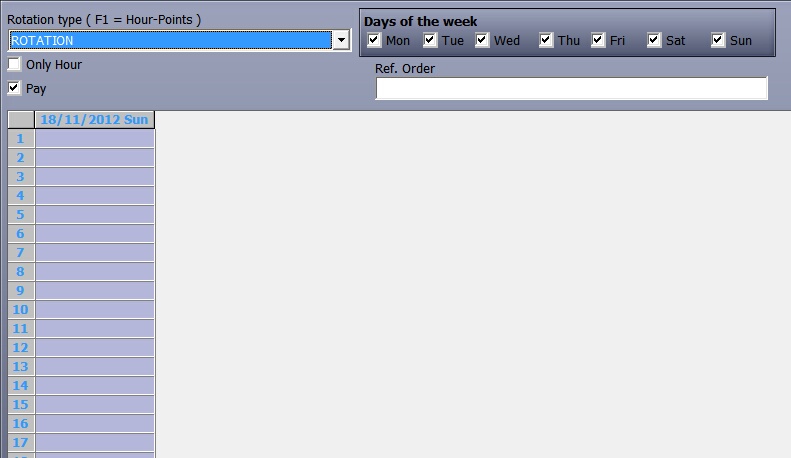
➢From the combo-box, select "FIXED" or "ROTATION" and untick the days that you want to exclude from your scheduling log.
✓ROTATION means the spot will always be played in the same hour points, but not in the exact same position (eg. from 8 to 9 in the morning, your spot will be aired at 8:02 on Monday, and 8:45 on Tuesday...). Actually, in the setup of the tables, the Administrator can set a progression pace (eg: 3, meaning if the spot was aired in the FIRST position on Monday, it should be aired in the THIRD position on the next day). > Step 1: 08.30; Step 2: 08.50; Step 3: 09.10; Step 4: 09.30
✓FIXED means the spot will always be aired in the same hour-points, at the exact same hour every day.

➢Then, users have 2 choices:
I.Click on F1 to manually choose the hour-points for the first day of scheduling: your spot will only be aired in the selected time slots. Click on F10 to validate your choices.
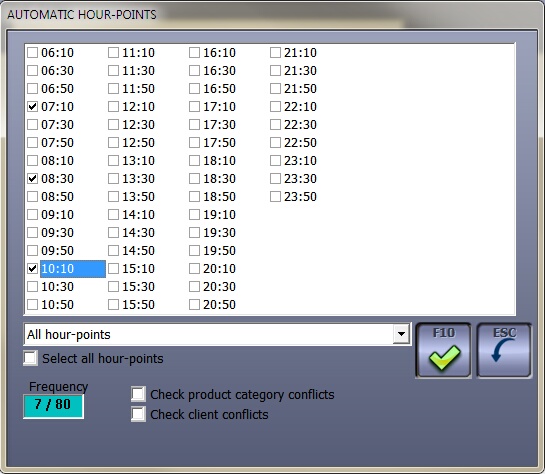
Note that you can also tick the check-boxes at the bottom to avoid product category or client conflicts
II. Click on F9 if you want RamComm to choose the hour-points of the first day for you (requires pre-configuration):
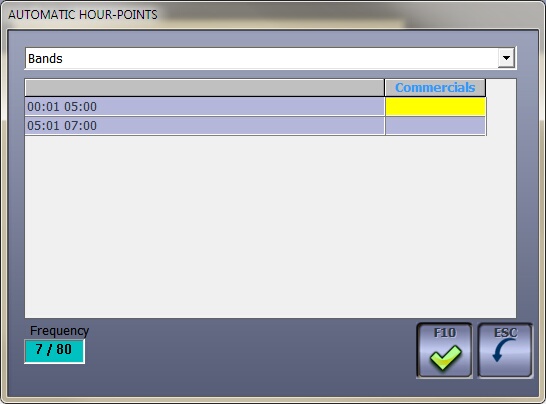
Here, we have 2 bands for scheduling the spots
If you want 2 spots between 00:01 / 05:00 and 5 spots between 05:01 / 07:00, you must enter those values in the Commercials column. Since 2+5 = 7, there will be no warning messages to indicate that you might not respect the frequency (note the Frequency number at the bottom of the window - a spot should not be played more than 80 times a day)
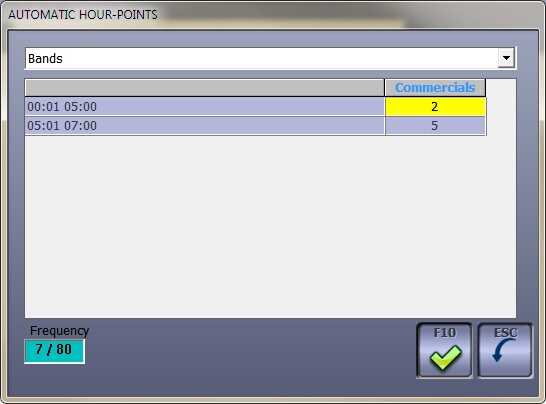
Press F10 to confirm... then, again = F10.
You can check when the spots has been scheduled in two places:
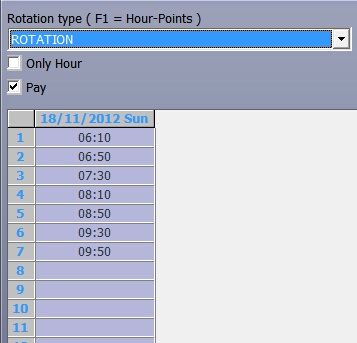
NB:
At this stage of the process, only one day has been scheduled.

Back to this screen, users have to click AGAIN on F10 to let the automation insert the hour-points for the other days.
Click on F10 to validate and exit the contract.