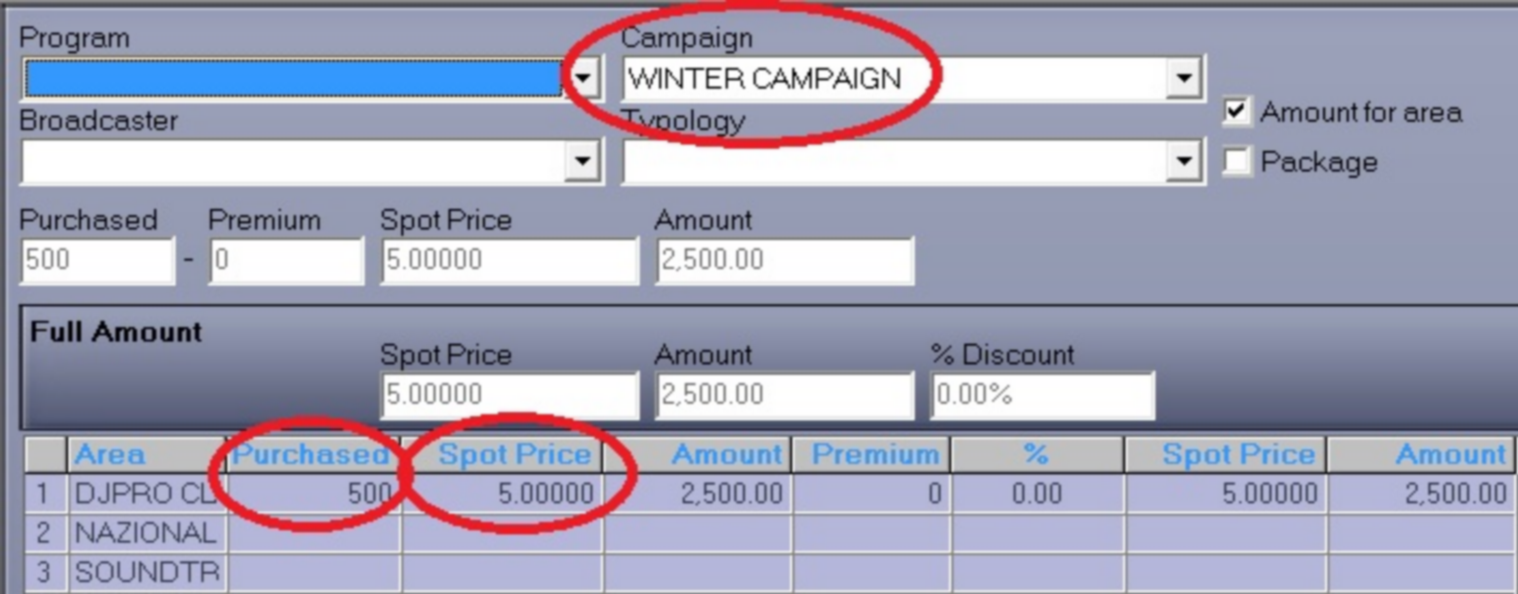
Aside from the main RamComm settings, you can customize the other tables. To do so, go to 'Identifying' > 'Tables':
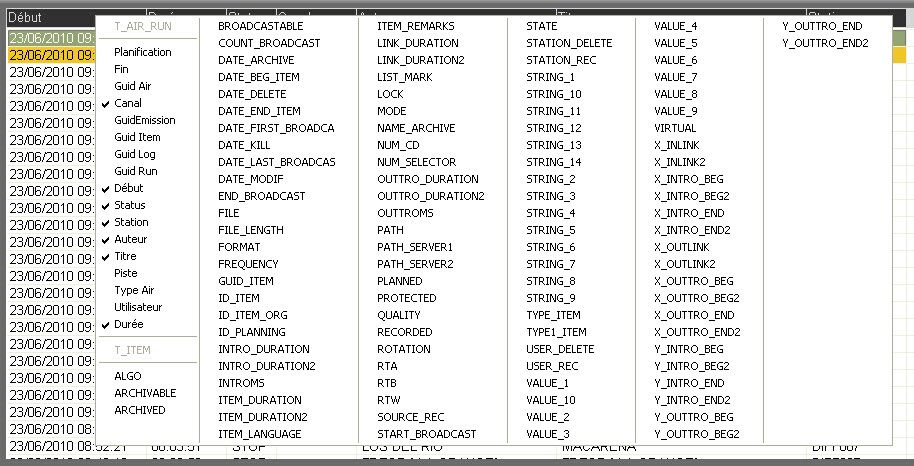
PRODUCT CATEGORIES TABLE
To enter a new product category, click on F2.
If you want to change the Product description language, you need to translate all the fields one by one.
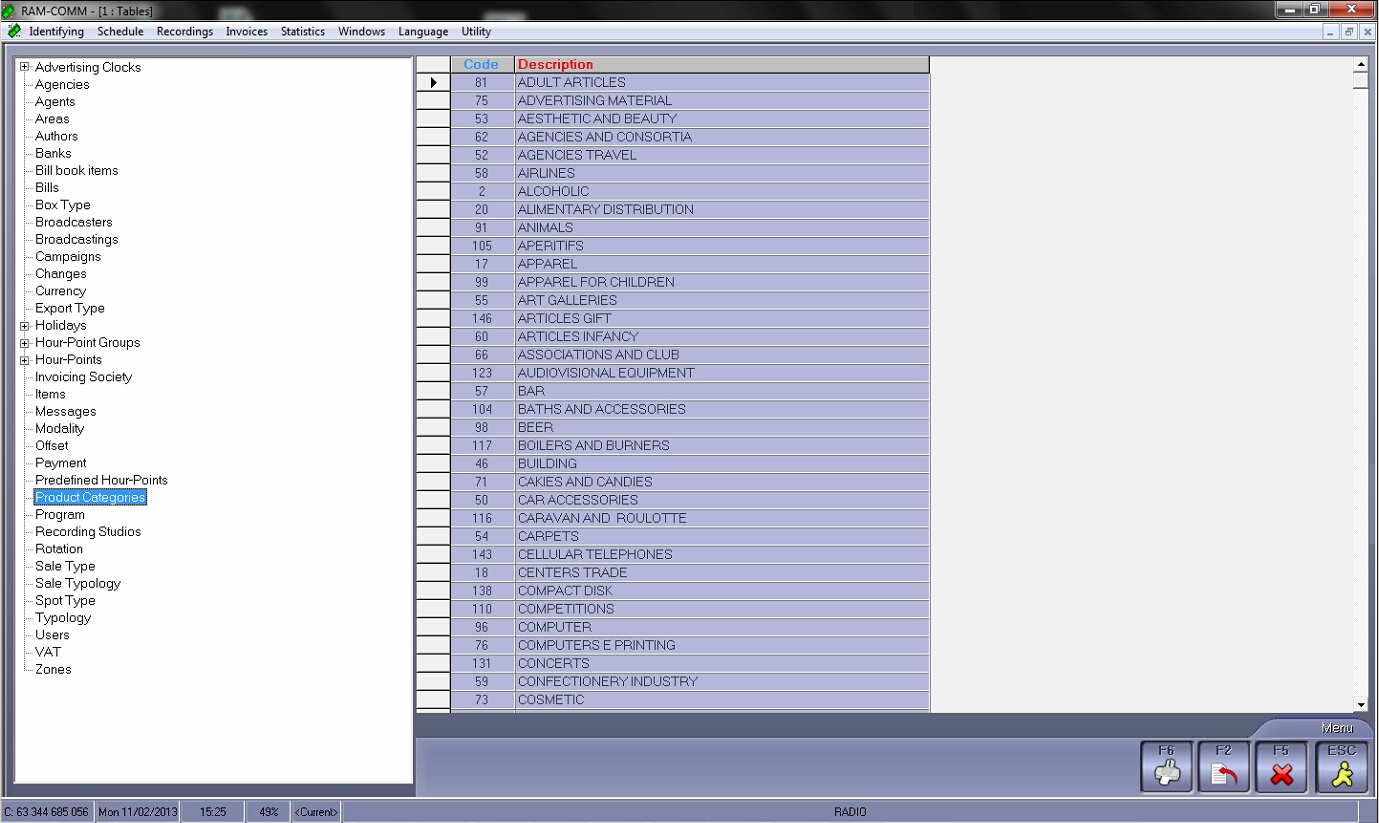
VAT TABLE
To enter a new level of taxation, click on F2.
For a 20% Tax level, you need to enter " 20.00% ".
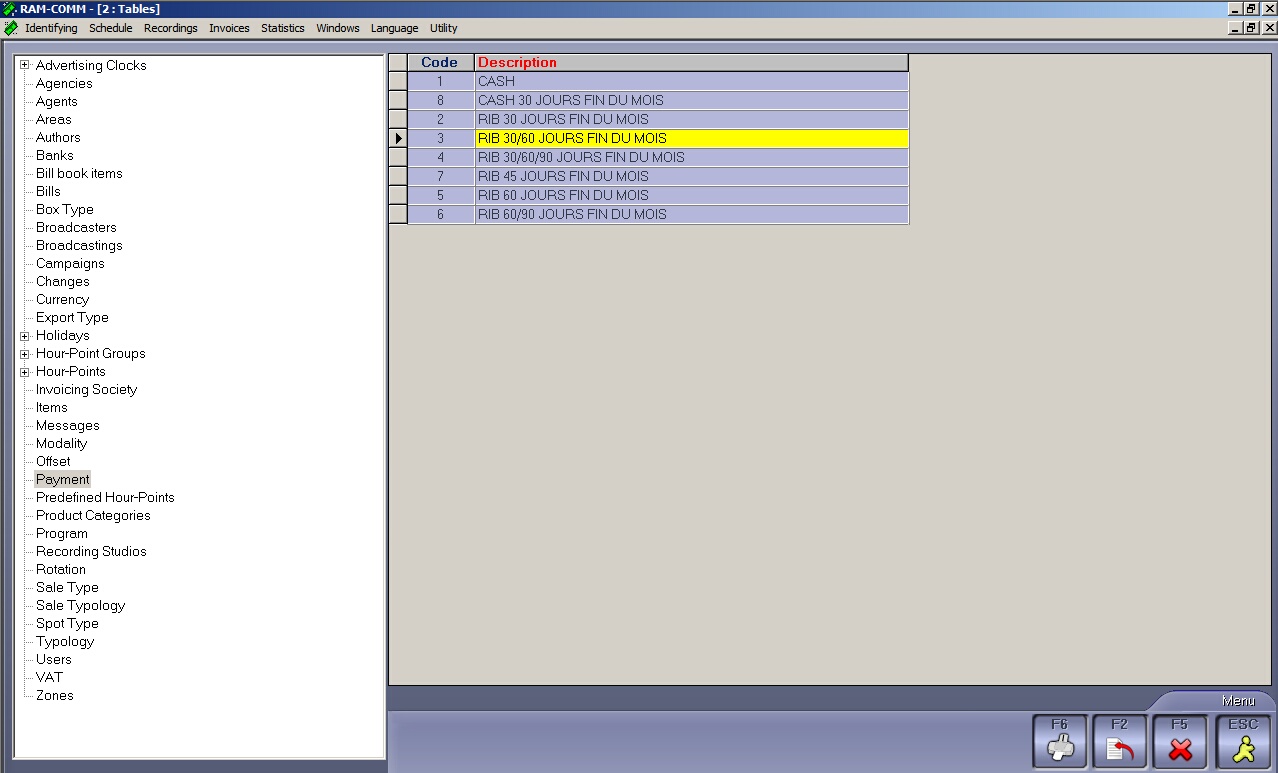
PAYMENT TABLE
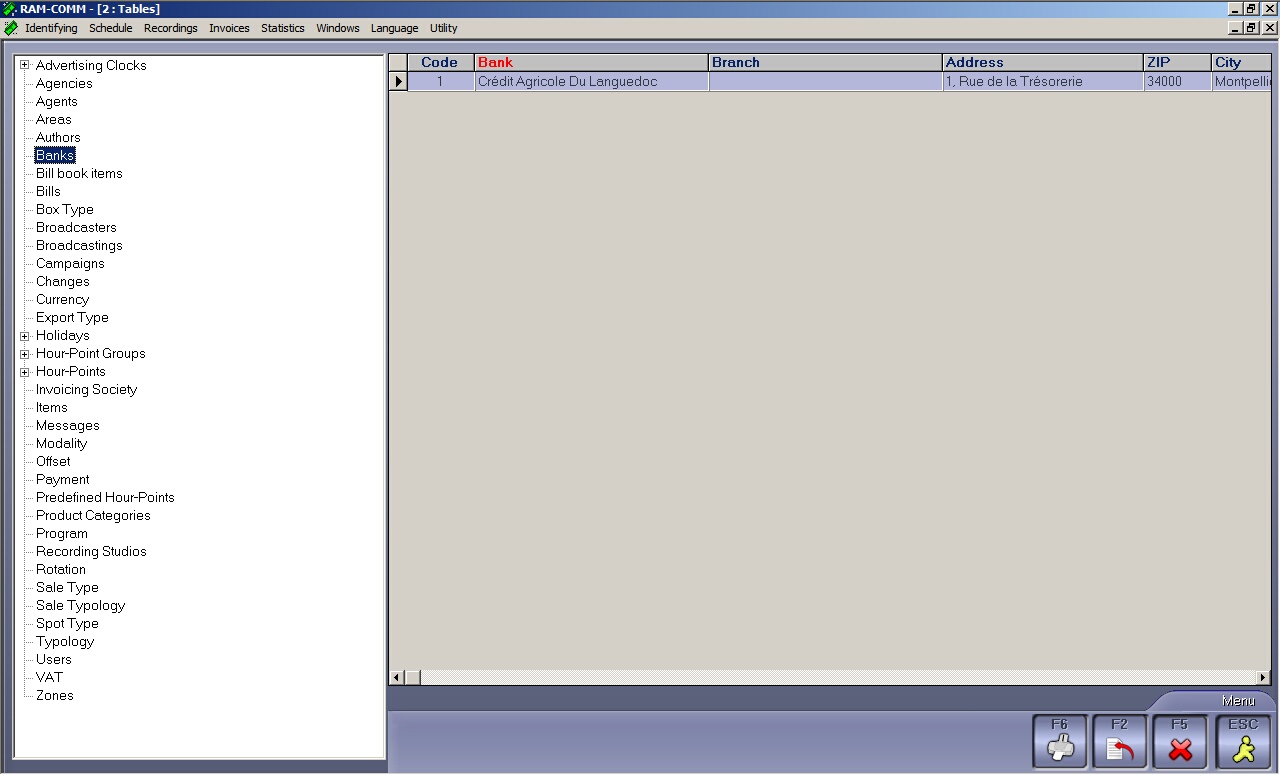
BANK TABLE
To enter the name of a new bank, click on F2.
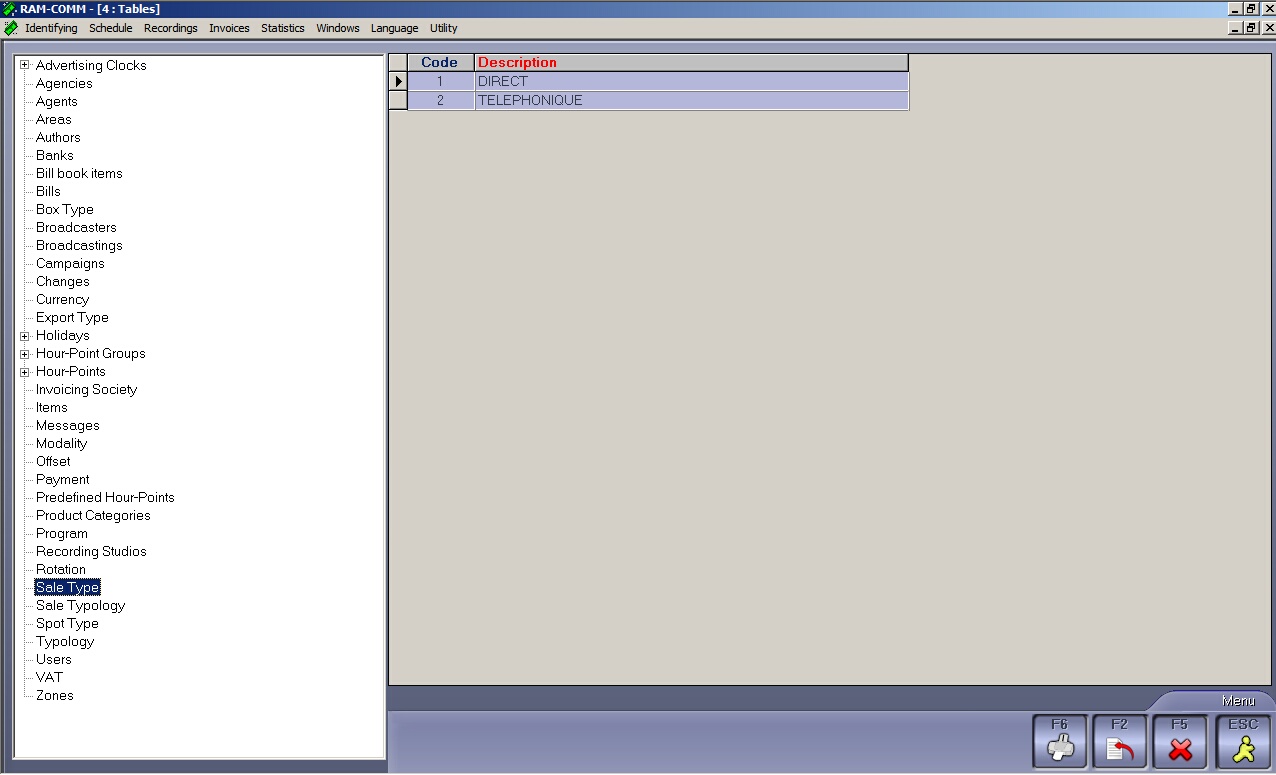
SALES TYPE
To enter a new 'sales type', click on F2.
CAMPAIGNS
To enter the name of a new campaign, click on F2.
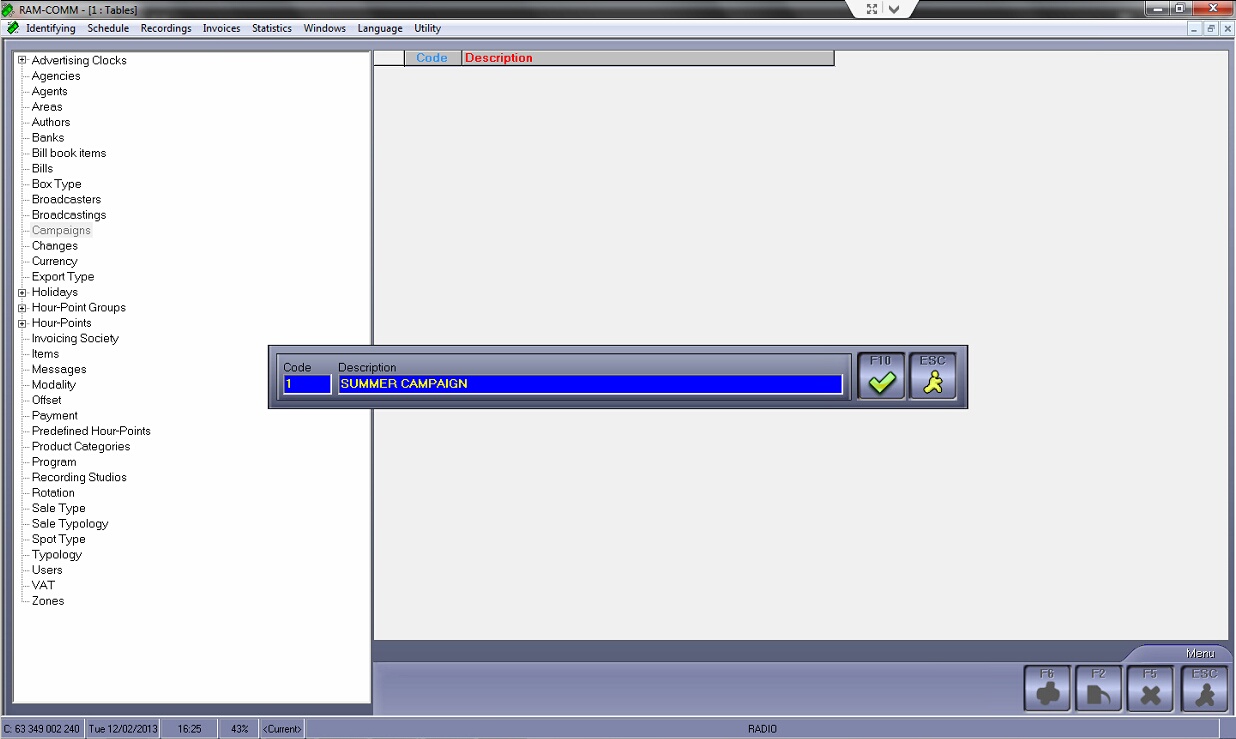
The use of campaigns involves a special procedure that we will describe here:
When you create the contract:
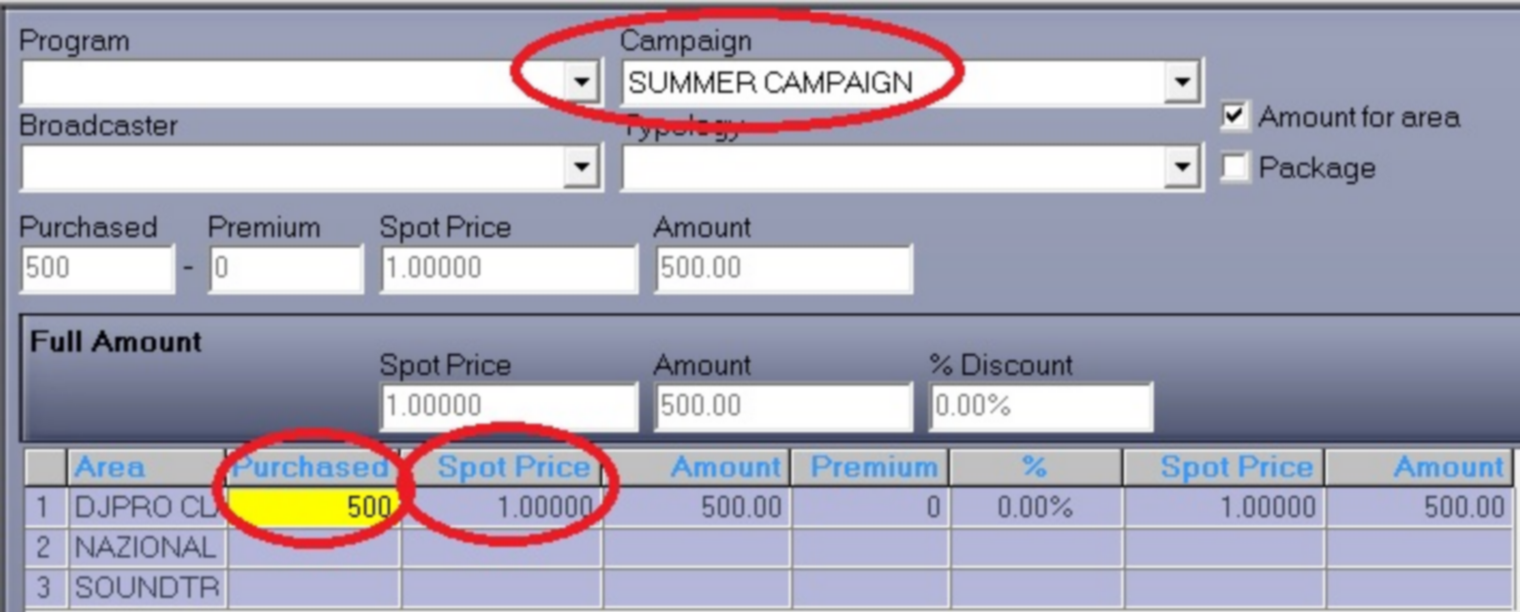
-On the AGENTS + AMOUNTS page where you insert the number of spots and the prices, open the first line
-On the CAMPAIGN field choose the campaign you want to insert (example SUMMER CAMPAIGN)
-Then double click on the area to insert the number of spots and prices as usual (for example 500 spots 1 euro each during the SUMMER)
Now let’s insert the prices for the winter campaign:
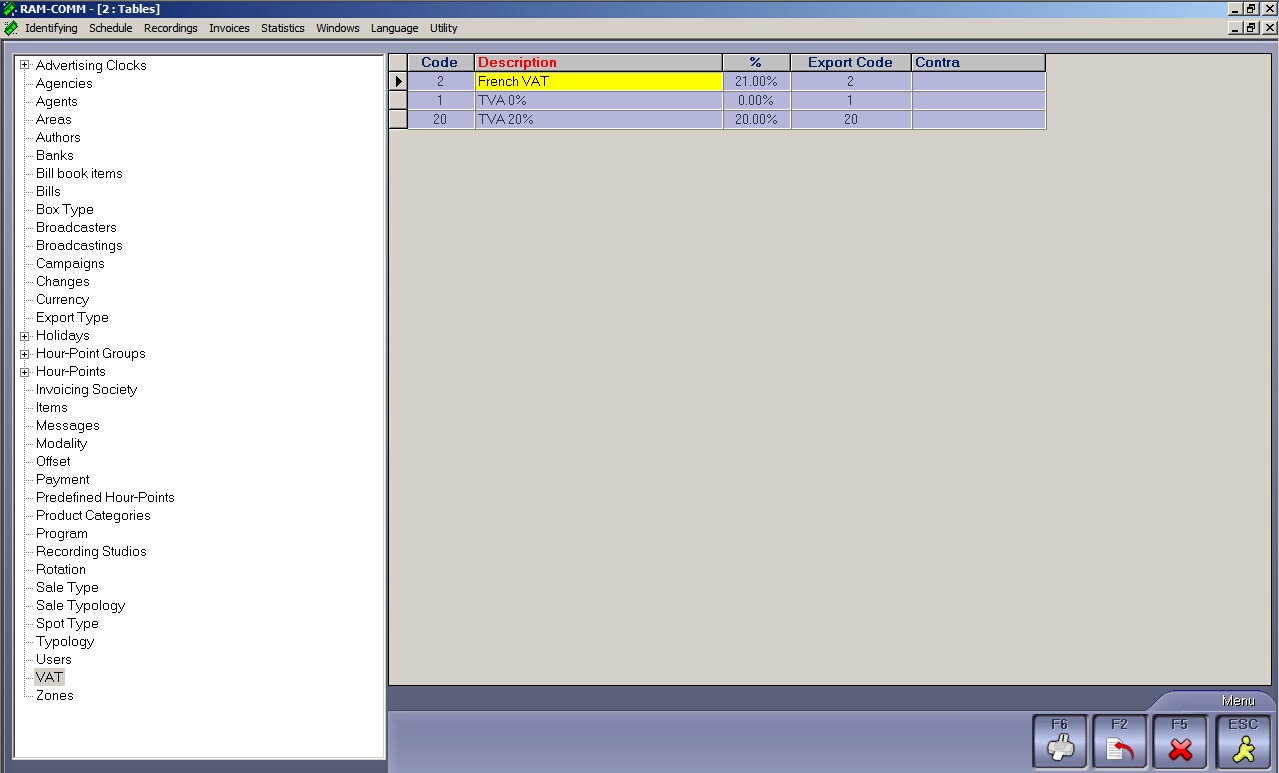
-Open the second line of Agents and Amounts
-Choose WINTER CAMPAIGN
-Then double click on the area to insert the number of spots and prices as usual (for example 500 spots 5 euro each during the WINTER)
Also Remember to always choose the BROADCASTER !
Now, if you go to SCHEDULING and insert a new scheduling, you will be able to choose among SUMMER CAMPAIGN and WINTER CAMPAIGN.
If you choose SUMMER CAMPAIGN on your invoice you will find the description SUMMER CAMPAIGN and the price of 1 euro each spot, if you schedule spot from WINTER CAMPAIGN, you will find the description WINTER CAMPAIGN and the price of 5 euro each spot.
