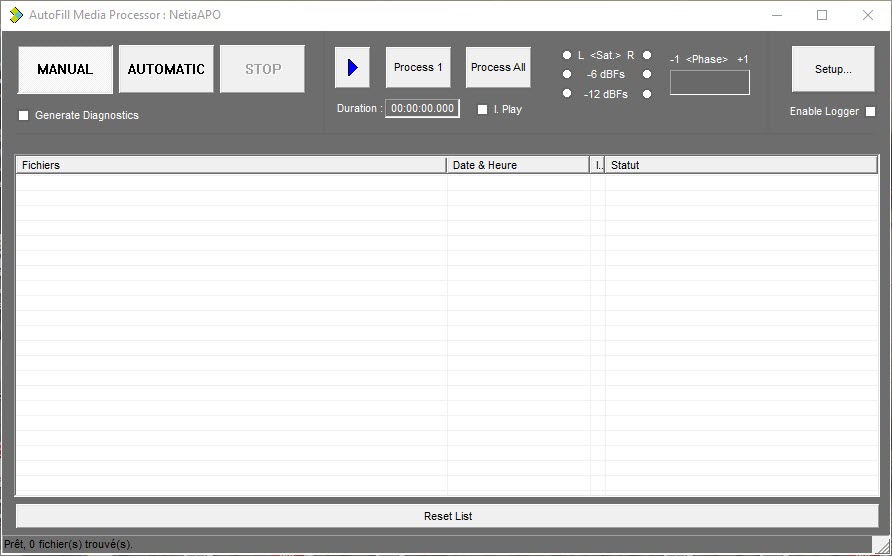
Open AutoFill to access the setting window.

Click on ![]() to start the settings.
to start the settings.
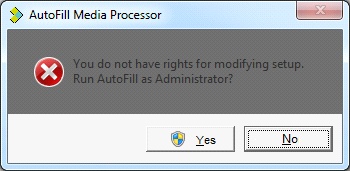
Note: Autofill shall run with Administrator rights, otherwise the following warning appears :

(You may click "No" to access setup in 'read-only' mode.)
The reason is with default security policies, if Autofill is not running with Administrator rights, it will be unable to modify HKEY_LOCAL_MACHINE registry hive, where settings are stored.

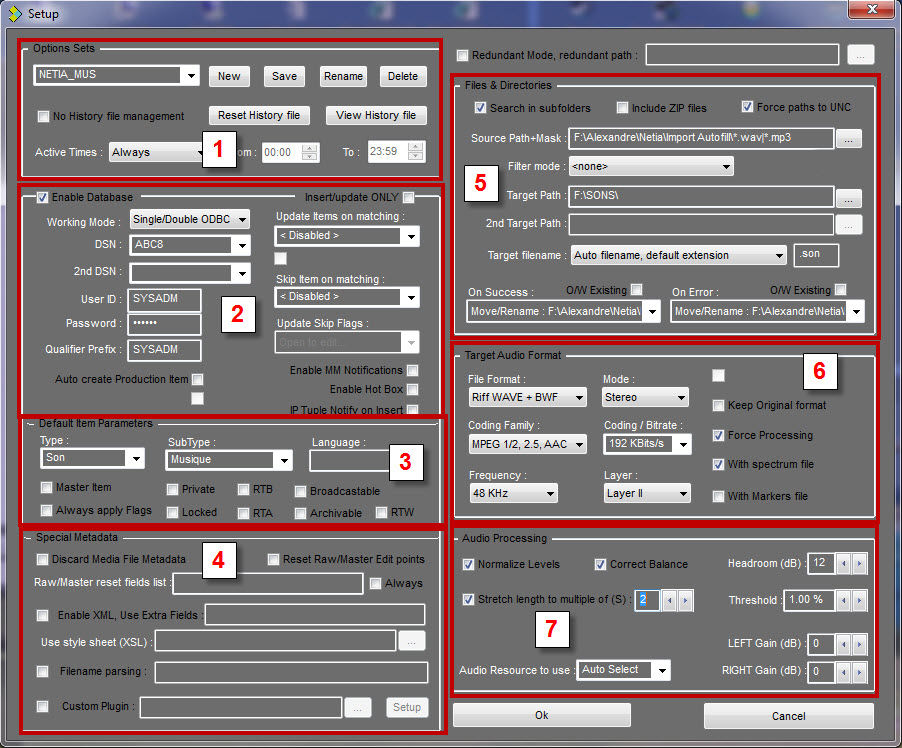
This screen is divided in 7 sections :
1.Options Sets : The “Options Sets” section is used to select, create, save, rename and delete settings profiles named in the dropdown list.
2.Enable Database : Database settings.
3.Default Item Parameters : Default values when inserting a new item into the Database.
4.Special Metadata : Managing associated informations.
5.Files and directories : Source and target directories.
6.Target Audio Format : Format and audio encoding for processed files
7.Audio Processing : Special features for audio items only .
Important :
All the configuration parameters are stored in the local record registry in :
•“HKEY_LOCAL_MACHINE\Software\Netia\Na-Conv” if using a 32bits OS.
•“HKEY_LOCAL_MACHINE\Software\Wow6432Node\Netia\Na-Conv” if using a 64bits OS.
The Setup window only shows the most frequently used parameters. There are more parameters located in the Autofill registry hive. Refer to Annex 1 at the end of this document for details.
About History files :
When running in Automatic Mode, Autofill keeps track of successfully processed files (full path and date), thus avoiding processing again a file, unless it has been updated.
History files are named with the "Option Set" name, with '.hst' extension filename, and - except stated otherwise - are stored in the common data folder : %ProgramData%\Netia\AutoFill\History files